
TL; DR: TrafficMaster Ceramica is the BOMB.
Let's start with the front entrance:
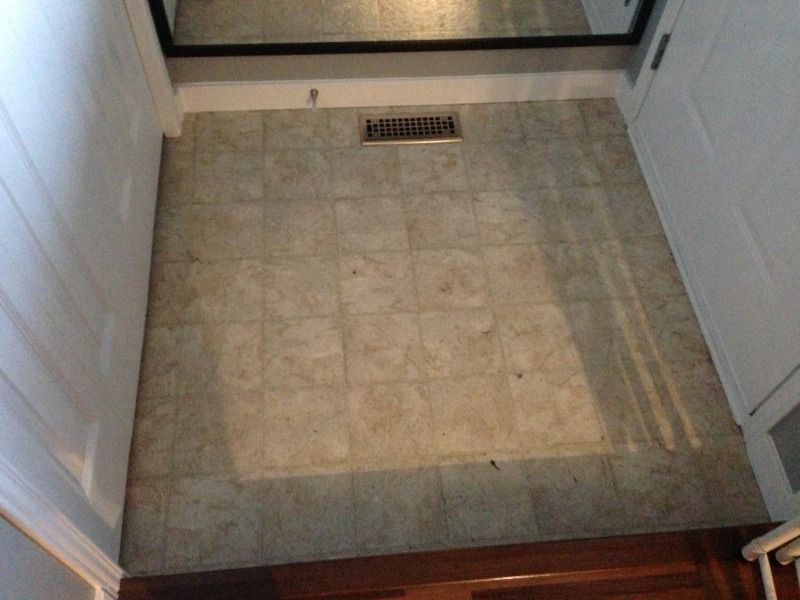
Hubs and I have hemmed and hawed over what to do about this floor for the last year. I've had several contractors come in and give me quotes on tile installation- and even with relatively cheap porcelain or ceramic we were looking at about four grand to have both this little front space and the kitchen space redone. OUCH. I know that doesn't sound like a ton- but for the market we're in, it is. I looked into poured concrete- and that was even worse. After consulting with our realtor, she agreed that putting that kind of money into the floor was unlikely to get us a return on our investment, although she also agreed that something really needed to be done about the ugly floor. In the event that we got unexpectedly posted out of here (always a possibility) our house really couldn't afford to be "awesome, except for that old flooring..." Remember the point of this house has always been to improve it's aesthetics, receive a big return on our investment, and be able to buy our dream house at our next posting. Could we attempt the ceramic installation ourselves? Possibly, but we weren't confident enough in our abilities to make the tricky cuts. And to get half decent tile it was still going to be close to two grand. More roll vinyl was not an option.
So long story short, around Christmas Hubs was in Home Depot and stumbled upon a display for TrafficMaster Ceramica resilient vinyl tile. Yes, that's just a fancy name for peel and stick vinyl tiles. But this stuff had something the others don't: it's groutable. That's right. Peel, stick, GROUT, and all done. He spent some time feeling the samples in the store, and then came home and made his pitch: It looks like ceramic tile when installed with grout. Even if you FEEL it it's hard to say it's not ceramic because it has actual grout lines, not printed ones. It comes in a bunch of different colours. It's able to be installed without a tile saw- just cut with scissors and utility knives. No mastic.
I went with my Mom the next day to look and sure enough- this looked like the answer to our dilemma. It's also CHEAP. Like- it'd only cost us 600$ to do the whole kitchen and front cheap. So that was our new plan: peel and stick vinyl. When I got my tax return this past year we went straight to Home Depot (which is the exclusive retailer of this stuff) and looked at colours. We decided to order the "Natural Concrete" colour (it was between this and the "Dark concrete"...but with our kitchen we thought the lighter would be better.) We chose 12x24 tiles with the intention of doing an offset brick pattern. It took six weeks to arrive.
So back to the front entrance. This was Hub's baby. He sat and measured out the space and laid it all out. He washed the floor, sanded it with high grit sandpaper (just to rough it up and make sure the sheen was REALLY off that gross old lino) and he washed it again. Yes, this stuff can be installed right over top of the old lino! Then once it was all dry the moment of truth came- and he began to peel and stick.

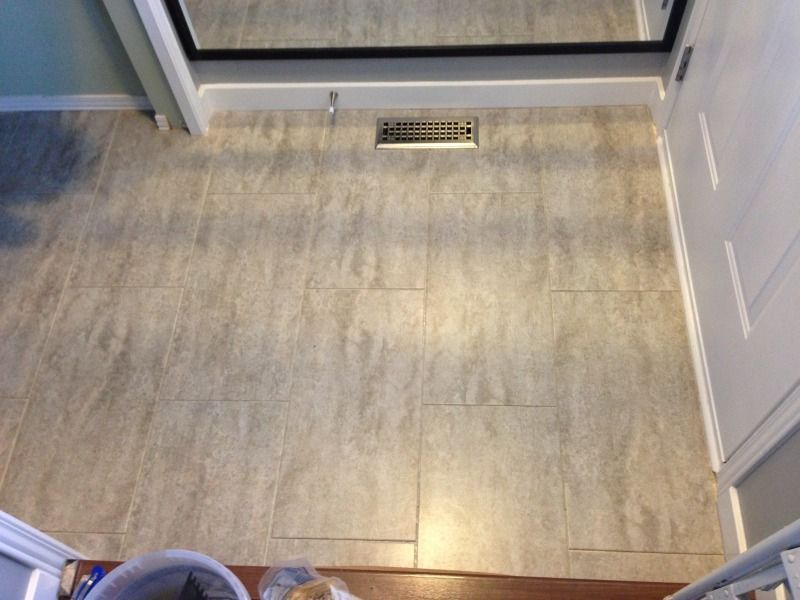
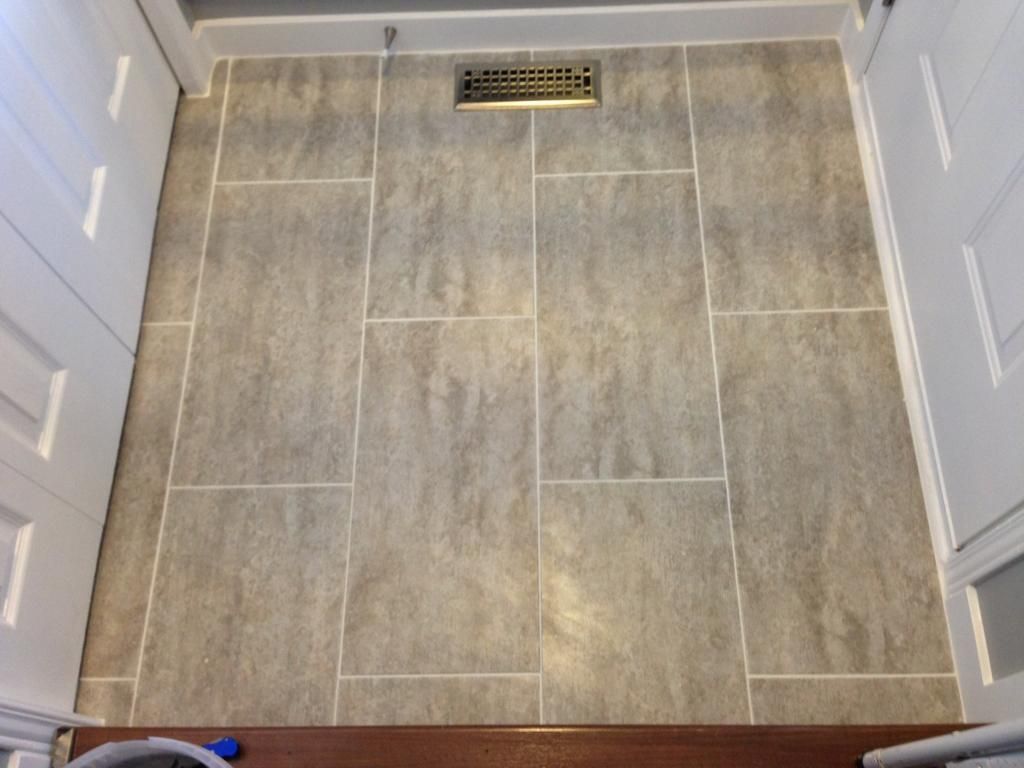
And here it is grouted with the closet doors back on! Doesn't it look fantastic? It looks just like normal tile- but it cost SO MUCH LESS. And the installation took only a few hours- Hubs started at 9:30am and was done four hours later with everything cleaned up and the doors back on! And he was kind of feeling this out since it was his first time- I know the kitchen will go faster seeing as he's got the hang of it. I am so thrilled with it. I can't believe this morning it was ugly yellowed lino full of pock marks! I can't wait for the kitchen to get started since that's where the real mess is. As big a change as this is, it's going to be tenfold in the kitchen.
If you've made it to the end of this post- congratulations! You deserve a medal. Are you considering using groutable vinyl tile for your floor project? I'd love to hear about it! I'll make sure to update you all with the kitchen progress once we get that under way!
No comments:
Post a Comment