Sunday- Day 2- we got to start the real fun. ACTUALLY transforming the stairs. We still had some prep work to do though. First, we ripped up any of the lino that was left, and just put down some extra sheathing so we could get up and down. The lino left a lot of really tacky glue on the treads- so going up them was like being stuck to human fly paper. Not fun. You'll notice our "hopping spots" in several photos.
The issue with our stairs was that they weren't meant to not be carpeted. They were cheap, builder grade, structural stairs. If you know anything about the speed with which houses were built in Edmonton during the last boom, you'll understand- these houses were built to house bodies. They are the furthest thing from custom known to man. My aim is to change this builder grade house into something really special. But more on that later.
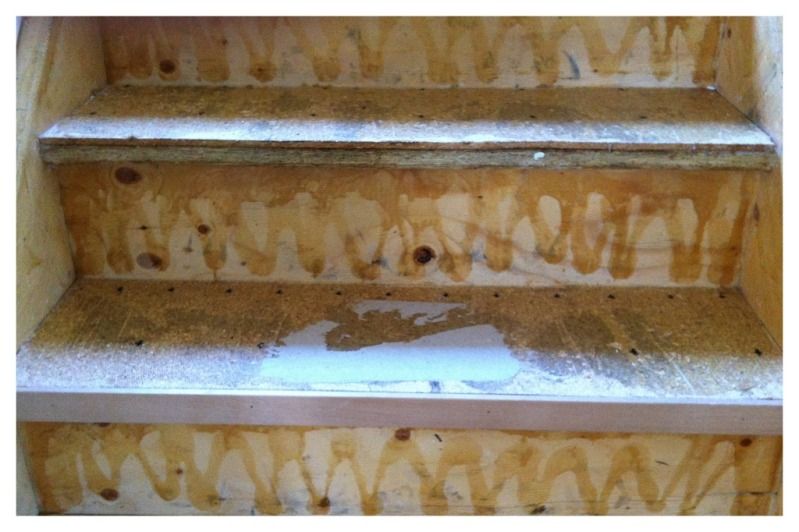
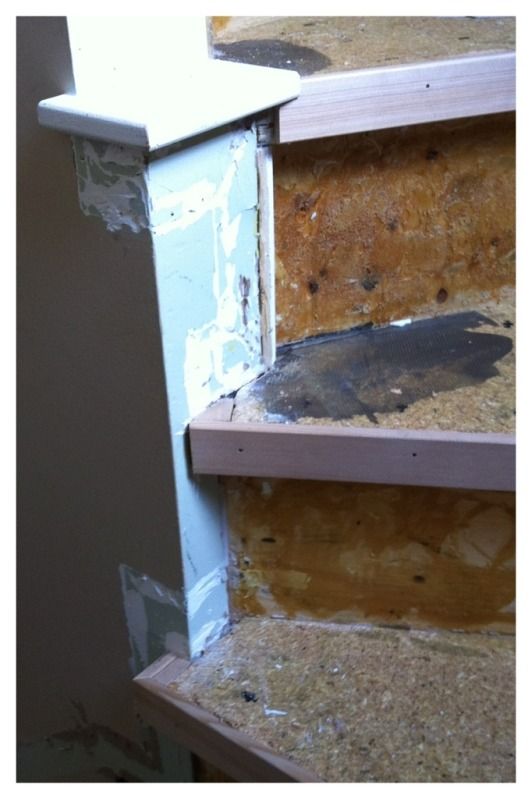
So- structural stairs. Made of plywood and particle board. The treads were smooth and level because whomever installed the lino put new fiber board on top of the existing particle board treads in order to level them. But the edges were...well...take a look:


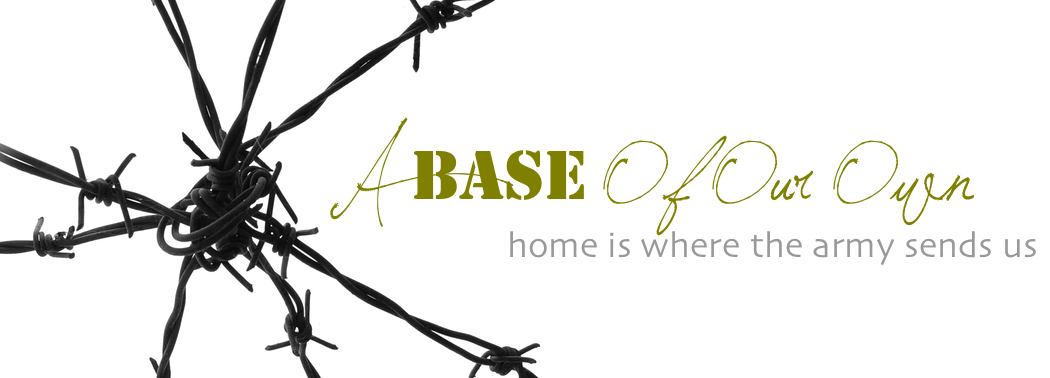
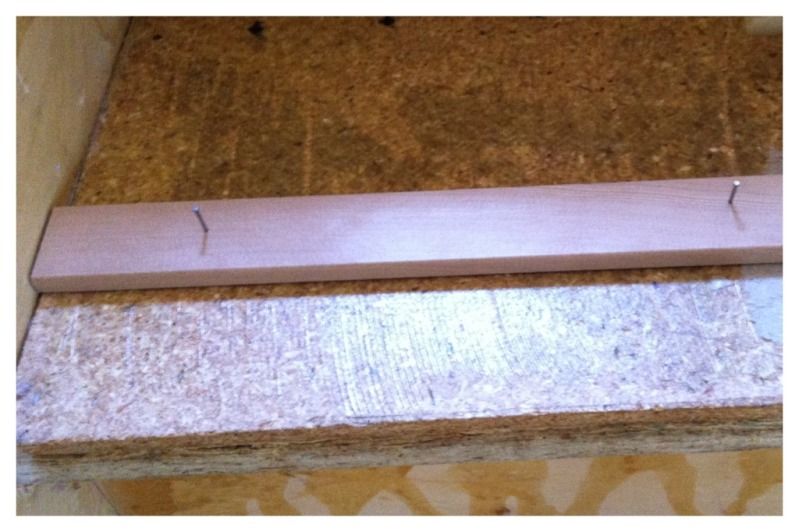
So we measured how long each tread was and bought 41 feet of Hemlock door and window casing that was 1.5 inches wide. It was perfect- straight, smooth, and the right width. Sunday we measured each tread again and cut a piece of moulding to fit. Each piece was then pre-nailed with finishing nails, and we applied PL400 construction adhesive on the back. Then we fit them in place, and finished nailing the nails through. It was SUCH an improvement already!! Look!
 |
| Pre-nailed every few inches. Nothing precise. If it looked like we needed more, we added more. |
 |
| Glue in a wave pattern. A la Mike Holmes. |
 |
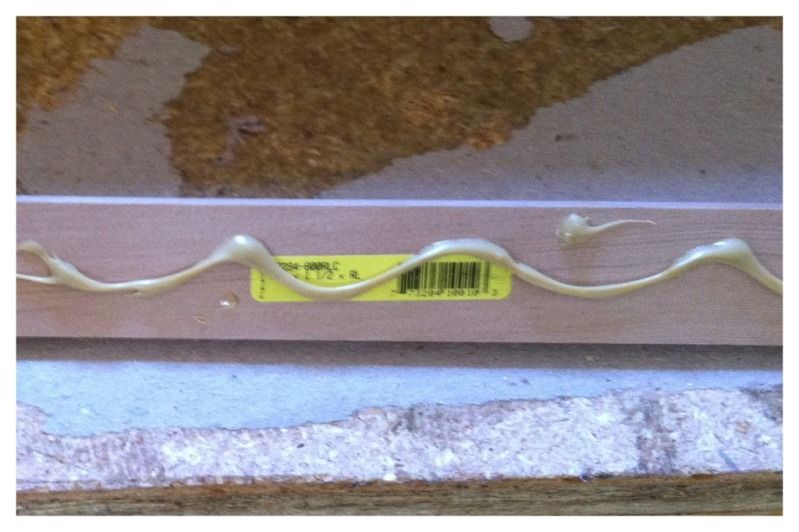
| TA DA!! Bottom stair with new nosing, top stair with ugly old nosing. |

So now all the stairs are properly nosed. They don't look like a dog chewed on them anymore. Which is important, if we're going to go to all this trouble of papering them and staining them and polying them, they'd sure as heck better look smooth and professional when they're done. A few hours of prep, but so worth the 60$ in trim and the time. Taking a page out of Mike Holmes' book: Do It RIGHT the first time!
Next post will be about the actual papering process. With the nosings done, and the mess all cleaned up (yeah- try and keep your work area clean, it really helps!) we were ready to paper!!
No comments:
Post a Comment